How to Install Vinyl Flooring in Your Home

- Remove thresholds and baseboards before you measure the room to see how much flooring to purchase. Your square footage will be the length times the width of the room plus the area of any nooks and closets. Total the number of square feet and add 10 percent to allow for trimming.
- Strip the existing flooring if necessary. If your existing floor surface is solid and fairly smooth you may choose to skip this step. If you remove carpet or old vinyl, make sure any deposits of flooring adhesive are removed as well. You may need to use a power scraper and citrus-based solvent to get old vinyl floor adhesive off. Go over the corners and crevices with a sander to remove any adhesive that remains.
- Lay out the room. Choose the wall that is the main line of sight in the room (usually this is the wall opposite the room’s main entrance). Lie out a line of planks along this wall and use a T-square to make sure the planks are parallel to it. Mark a line on the floor using a chalk line or felt-tip marker (it’s going to be covered up, so permanent marker is okay). The idea is to square off the room so your new flooring is as attractive as possible.
- Starting in one corner, peel off the backing of self-adhesive vinyl plank flooring. Be very careful to line up the first plank exactly with your line guide since all the remaining planks will key off the first plank. Press down firmly to make the adhesive bond to the sub floor. Lay a line of complete planks end to end the length of the room. Use a small notch trowel to spread a layer of adhesive for regular vinyl plank flooring. Vinyl flooring adhesives are product specific so use only the manufacturer’s recommended adhesive and flow their instructions for use. A generic adhesive may not bond the vinyl planks to the floor properly.
- Cut a vinyl plank in half to begin your second line of planks. Use a vinyl tile cutter (recommended) or a utility knife and T-square to cut the plank at a 90-degree angle to its length. Use this half plank to start the next line. Staggering the vinyl planks creates a more authentic wood appearance. Alternate each line with a full-length and a half-length plank. At the opposite end of the room you will need to install partial planks to finish off each plank line. Measure each space carefully and cut the pieces the same way.
- Locate any gaps between planks. Don’t worry about finding gaps, because there are always small uneven spots in a floor. Use a putty knife to fill gaps with wood putty and wipe away any excess.
- Use a floor roller to ensure all the planks are firmly bonded to the floor. Replace thresholds and baseboards or cove molding to finish up installing your vinyl plank flooring.


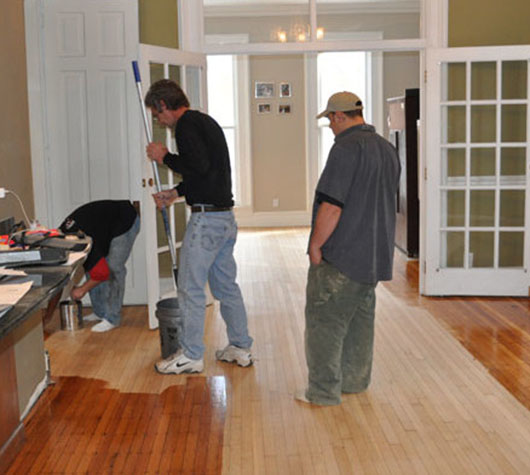 Repairing Scratched Hardwood Floors
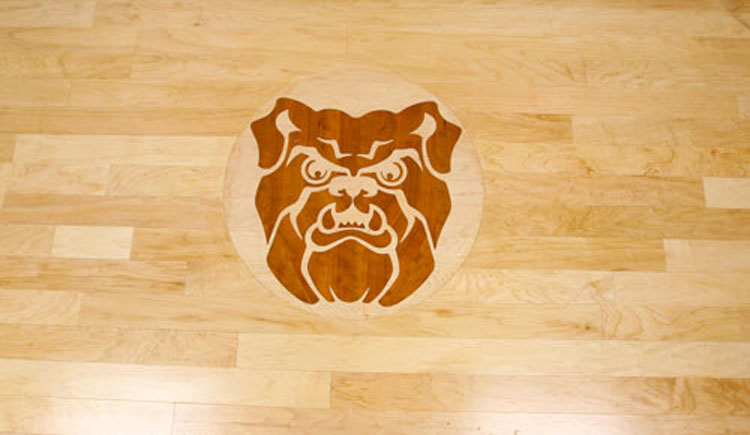 Hinkle Fieldhouse Butler Univers...
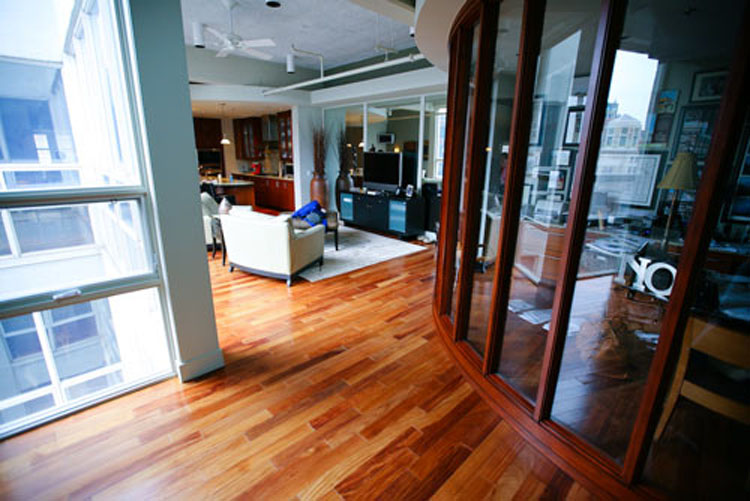 Penthouse Town Home Downtown Ind...
 Antique Flooring Restoration
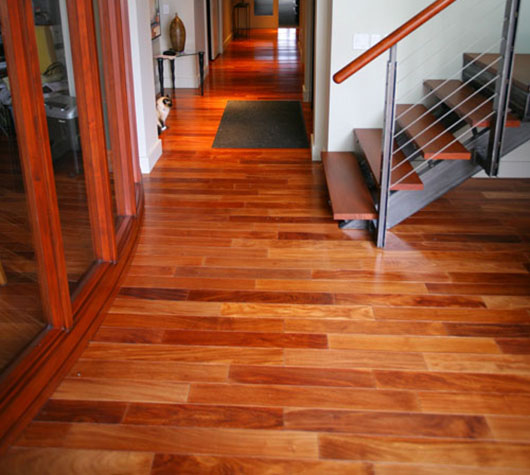 Brazilian Cherry Hardwood Floors