
The good news is how all this has changed with the incredible improvements that have been made to the vinyl flooring product category. While many people naturally think “luxury vinyl flooring” must be an oxymoron, rest assured the high-quality vinyl flooring available today is light years beyond the vinyl floors of decades past. At ProSand Flooring, we love showing skeptical customers what high-quality vinyl flooring looks and feels like, and they are always pleasantly surprised and impressed. Today’s luxury vinyl is much more than marketing hype. It is a virtually indestructible, waterproof, resilient flooring that comes in plank and square tile shapes. When you see how authentic and stunning it can look in your home, you’ll never look at vinyl the way you did before.
How Vinyl Flooring Is Made
The new approach to luxury vinyl emerged for commercial applications. The high volume of foot traffic the vinyl needed to withstand explains why it is so good at handling the much lower volume of daily foot traffic in the average home. Its ultra-durable construction comes from the four layers fused into one solid vinyl product. These layers include a vinyl backing layer, the vinyl core layer, a photographic film layer (where the look of natural materials can be replicated), and a urethane or aluminum oxide wear layer on top that provides super-durable protection to the flooring.
A higher-quality vinyl flooring product translates primarily into a thicker wear layer that significantly extends the product’s life while keeping it looking new. Various additives in the manufacturing process protect the vinyl, including UV stabilizers to slow the fading process and fungicides to prevent mold and mildew. At the same time, chemical embossing provides any desired texture.

The Look and Feel of Quality Vinyl Floors
This is where luxury vinyl will surprise you, mimicking the rich look and feel of a wide range of natural materials such as hardwood flooring, distressed wood, stone (including the tactile surfaces of stone and slate), and even the look of woven textiles embedded in the vinyl. All in exact detail, visually indistinguishable from the real products they mimic. It’s also worth noting that because luxury vinyl is flexible and has resilient backing (meaning there’s a little “give” when walking and standing on it), it has a softer feel than hardwood or tile floors and will therefore also feel warmer than tile as well. These comfort factors are essential in areas like the kitchen, where people tend to stand for long periods of time.

Unmatched Durability with Vinyl Flooring
Luxury vinyl may be the most durable flooring product available. It is scratch, stain, dent, and scuff resistant, 100% waterproof, and is even impervious to harsh chemicals and cleaners such as bleach, scouring powder, and petroleum-based products. Spilled paint can be easily and gently wiped away, even if small flecks or brushstrokes have dried. Keeping a luxury vinyl looking like new is also surprisingly easy, with just simple sweeping and damp mopping recommended for regular maintenance.
Given the previous low reputation of vinyl flooring in the eyes of most homeowners, the new luxury vinyl available to today is a product you simply must see to believe. ProSand is always happy to bring samples to you or welcome you to a showroom location to see the kind of selection and quality of vinyl flooring we have available.
ProSand Flooring: Your Go-To Source for Floors and More in Indianapolis
If you’re interested in luxury vinyl floor products, ProSand Flooring has a huge selection from which to choose. Our professional experts will guide you through the options available and learn more about your aesthetic preferences and expected use according to your lifestyle that will further inform the recommendations we make. You’ll quickly discover how we’ve made top-notch customer service a core value in the way we do business, which is why so many of our clients have become loyal fans who refer others to us.
If you’re still not convinced about vinyl floors, no worries. ProSand Flooring has deep expertise in a wide range of flooring options, including hardwood floors, engineered wood, carpeting, and ceramic tile flooring products. When you choose ProSand Flooring, you’ll get the look you want and the value you deserve. We’ve been a family-owned and family-operated business serving customers and clients for more than 30 years in Indianapolis, Carmel, Zionsville, Noblesville, Fishers, and Brownsburg. Start the conversation by getting in touch with ProSand Flooring through the contact us page of our website or call us directly at 317-371-6720. We look forward to meeting you!

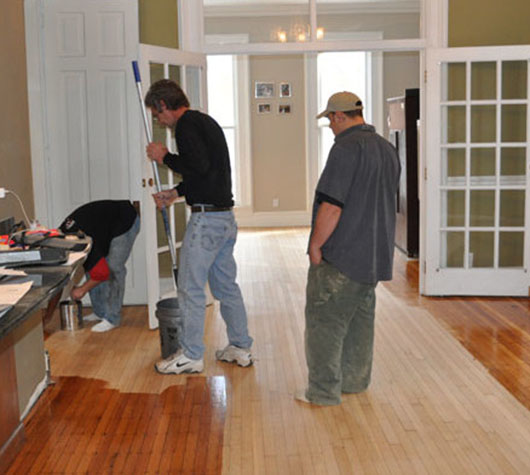 Repairing Scratched Hardwood Floors
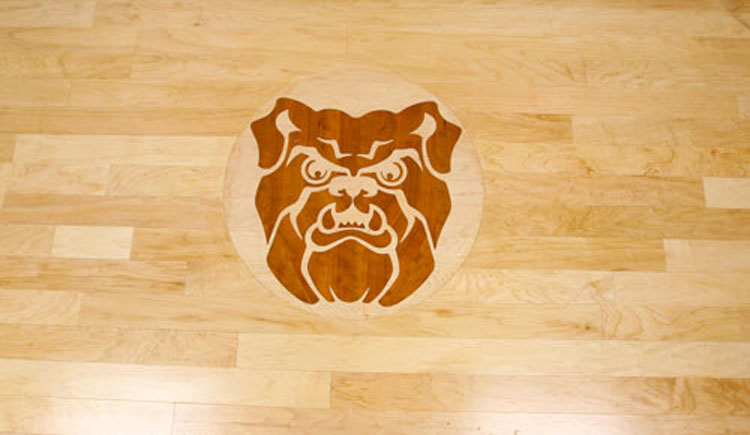 Hinkle Fieldhouse Butler Univers...
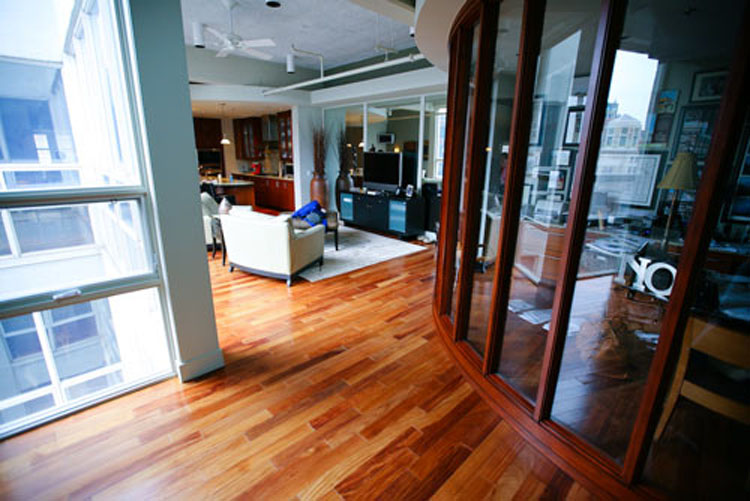 Penthouse Town Home Downtown Ind...
 Antique Flooring Restoration
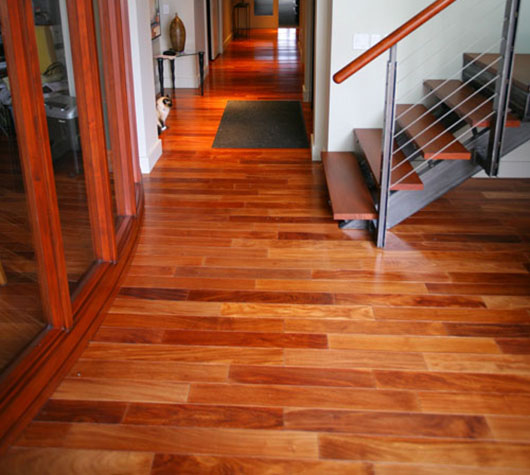 Brazilian Cherry Hardwood Floors