Need Interior Or Exterior Home Painting In Indianapolis? ProSand Delivers!
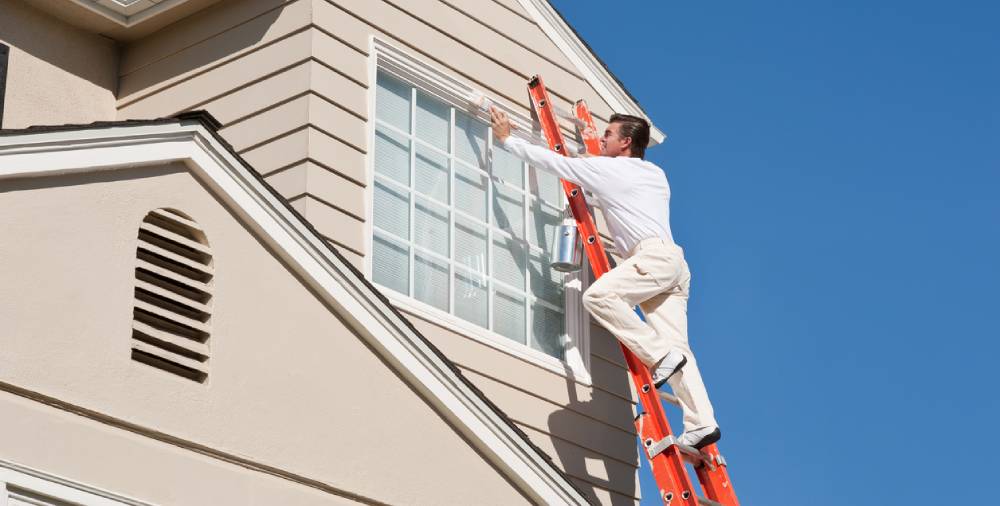
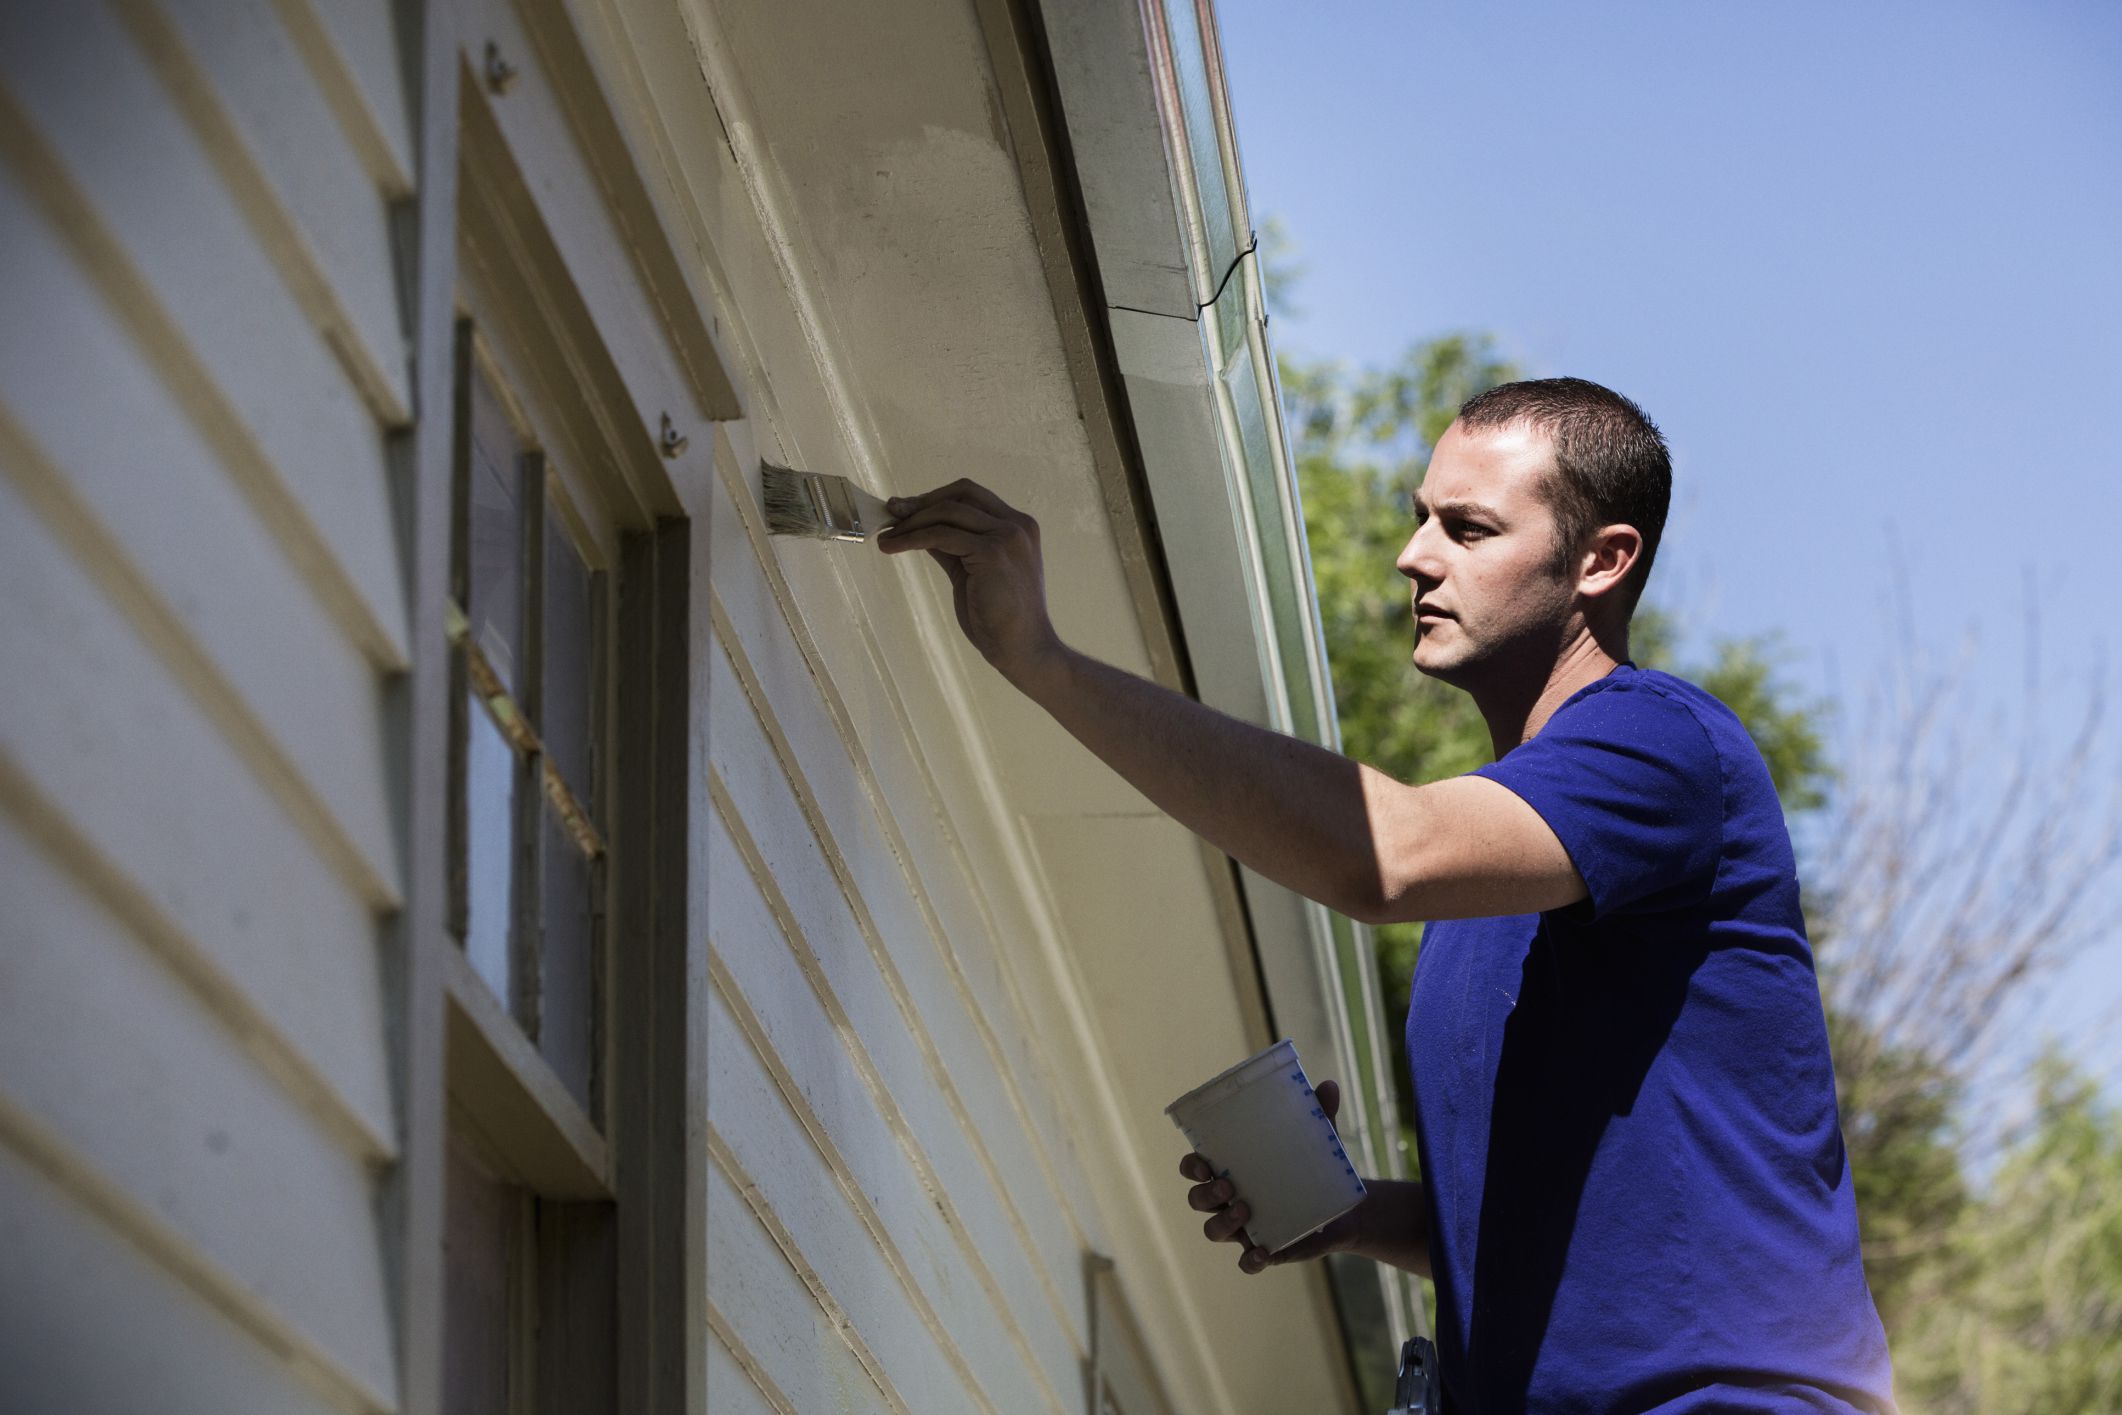
ProSand customers who have enjoyed the superior results achieved with our interior painting services often ask if we also provide exterior painting services. The answer is YES! There is a whole different set of considerations and expertise that go into painting the exterior of a home, and the painting professionals on the ProSand team have them all covered. We evaluate the climate and sun exposure of the house to choose they type of paint that will last the longest given these conditions, as well as the time of year and even time of day when painting takes place to ensure even application, drying, and curing. Another major factor affecting the type of paint used is what kinds of materials make up a home’s exterior, such as vinyl siding, aluminum siding, clapboards, stucco, brick, and so on, as well as trim, shutters, and other features.
When the homeowner has selected the desired colors for walls and trim, then the real work begins, which is prepping the home’s exterior so it’s ready to receive a new paint job. Simply put, prepping the exterior surfaces of the home, when done right, will take significantly longer than the actual application of the paint. If the home was built prior to 1978, we’ll test existing paint layers for lead. If lead paint is present, ProSand knows the right way to handle it and dispose of it in compliance with federal, state, and local regulations. With the surfaces optimally prepared to receive paint, ProSand painting technicians will prime everything, then apply one or two coats to give the home a fresh new look the customer will love.
Indianapolis Kitchen Cabinet Painting
Step 1
Assess and Plan
Step 2
Disassemble, Sand, and Prime
Step 3
Paint Cabinets
Step 4
Install Hardware and Reassemble Cabinets
The ProSand Process for Custom Painting Cabinets
The interior painting pros at ProSand have the expertise and the equipment to transform your existing cabinets. We take great pride in the careful attention to detail. When we’re finished painting your cabinets, you’ll love discovering how different your whole kitchen looks when your cabinetry has been given a new lease on life. Here’s how we do it:
Step 1: Assess and Plan
It’s not often that kitchen cabinets are painted in isolation from a larger kitchen refresh or more extensive remodeling project. Either way, however, our approach is the same.
We first want to assess the condition of the cabinets and what they’re made of. Your kitchen cabinets may be made of solid wood, laminate, or even metal. ProSand can paint all three types. Knowing what they’re made of drives what type of primer and paints will work best. If a minor repair is needed here and there, we’ll be happy to take care of it.
And, of course, we can help you choose the color that will be perfect for the overall look you want to achieve in your kitchen. We’ll also want to determine if you’re looking to keep the same hardware (door handles and drawer pulls), which can either be renewed with a good cleaning or refinished to a new color using the right spray paint. You can also opt to install new hardware, and we’re happy to guide all these choices.
With solid wood, if the current paint job is in good shape, then a bit of scuffing with sandpaper will help the primer do its job. If the current paint job on solid wood cabinets is in rough shape, then they will need to first be stripped down to bare wood and scuffed before priming and painting. Laminate cabinets need to be in good shape to be painted, which must be preceded by a special bonding primer. Metal cabinets require yet a different type of primer. We use only the best acrylic latex-based paints and recommend a semi-gloss or satin finish since a high-gloss finish will more quickly show signs of wear down the road.
Step 2: Disassemble, Sand, and Prime
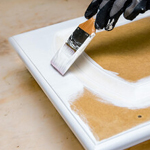
The second step in the process is the removal of all doors and drawers from the cabinets, as well as the hardware (door handles and drawer pulls). If the cabinets must be stripped, it happens in this step, followed by scuffing with sandpaper. If they only need to be scuffed with sandpaper to give a more textured surface for the primer to grip, that also happens in this step. Then the cabinets are fully primed, so they’re ready to accept the paint. During this step, we’ll give a deep cleaning to all your cabinet hardware if you want it reinstalled after painting.
Step 3: Paint the Cabinets
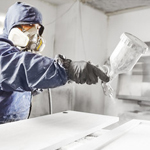
We have compressed-air sprayers to apply the paint to your cabinets because of that offer the optimal mix of accuracy without overspray, portability, and speed of application. We’ll likely apply two coats of paint, allowing adequate time for the paint to cure after the first coat, and again after the second coat before moving on to the final step of the process. If you decided you wanted a new finish on your existing hardware, we’d do that painting as well during this step of the process.
Step 4: Install Hardware and Reassemble Cabinets
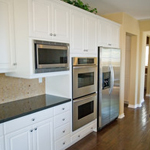
Once everything that’s been painted is fully dried and cured, we’ll reinstall your previous hardware if it was cleaned or refinished for reuse or install the new hardware you chose for the cabinets. The final part of this step is reassembling the cabinets by putting the doors back on and reinserting the drawers where they belong.
One your cabinets have been reassembled (whether they’re kitchen cabinets, bathroom cabinets, or other cabinets throughout your house), you’ll be ready to enjoy the new look for many years to come.

