Indianapolis Carpet Installation and Installers
ProSand Flooring Offers the Best Quality Carpet in Indianapolis.

Every carpet style and every Indianapolis home has unique characteristics. ProSand carpet installers take the time to focus on important details before, during and after install.
We begin with an evaluation of your subfloor, ensuring there is no moisture and resetting squeaky boards with flooring nails.
Our Mohawk-certified team uses only high quality Mohawk pads that are LEED certified and CRI green label certified for a higher standard of indoor air quality.
And when you purchase your carpet and pad from ProSand, carpet installation is free and you receive a lifetime stretch warranty. This means we will come to your home at no charge for the life of your carpet to remove wrinkles, gathers or gaps.
There are no shortcuts with expert carpet installation. And the steps that are taken now will ensure you enjoy your carpeting for years to come.
An Overview: The ProSand Installation Process
- Furniture is carefully removed from the area.
- Existing carpet, pad or other flooring is removed and disposed of by our team.
- Sub-floor is inspected for moisture, vacuumed thoroughly and wide cracks are filled and smoothed with wood putty. Squeaky boards are reset with flooring nails.
- Working at a corner, fastening strips are nailed along the edge of the floor, a 1/4” from the wall with teeth pointing toward the wall. With a tack hammer, preset nails are driven through the strips and into the floor. A 1/4″ thick guide board is used to maintain the 1/4″ gap and ensure strips are nailed evenly.
- Fastener strips are custom fit with a small handsaw to work around corners, in front of radiators and around open floor registers.
- A metal door-edging strip is nailed across the floor in each doorway with the open rim pointing into the room and teeth pointing out.
- Carpet is positioned over bare floor and unrolled. This ensures that carpet will not dislodge padding as carpet is pulled across it. One side is rolled back in preparation for carpet padding.
- Carpet padding is rolled into place with waffle-pattern up, trimmed carefully with heavy scissors and stapled diagonally every 6 inches along all four edges of the padding. On concrete floors, padding adhesive is spread on the exposed floor with a fine-toothed notched trowel or brush and then padding is smoothed into place.
- Carpet is unrolled and stretched, overlapping fastening strips around the room. Notches are cut vertically to accommodate corners and ensure carpet lies flat against both walls. Carpet is carefully trimmed around open floor registers, radiators and other obstructions.
- Carpet is methodically attached every few inches with a carpet kicker tool. The head of the kicker will stretch the carpeting under it to hook onto the teeth of the fastening strips at the edge of the floor.
- Edges and any ragged tufts are carefully and evenly trimmed then fitted into the 1/4″ gap between the walls and the fastening strips.
- Floor registers and quarter-round baseboard molding is replaced if it was removed. Doors are rehung. If the new carpet and padding are thicker than the old flooring, doors will be slightly planed to open and close easily. Furniture is moved back into the room.


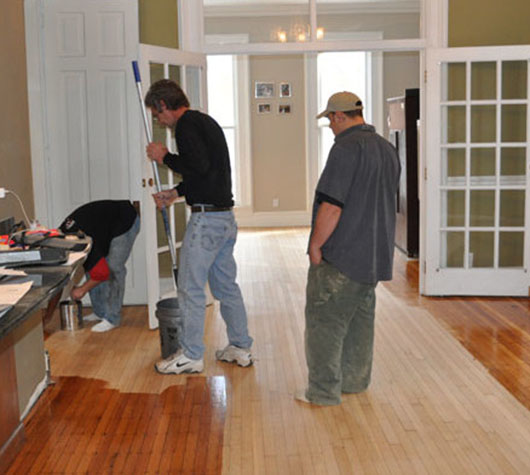 Repairing Scratched Hardwood Floors
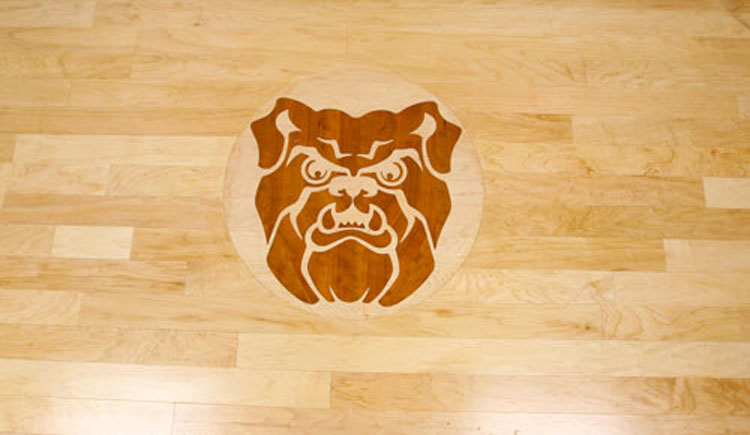 Hinkle Fieldhouse Butler Univers...
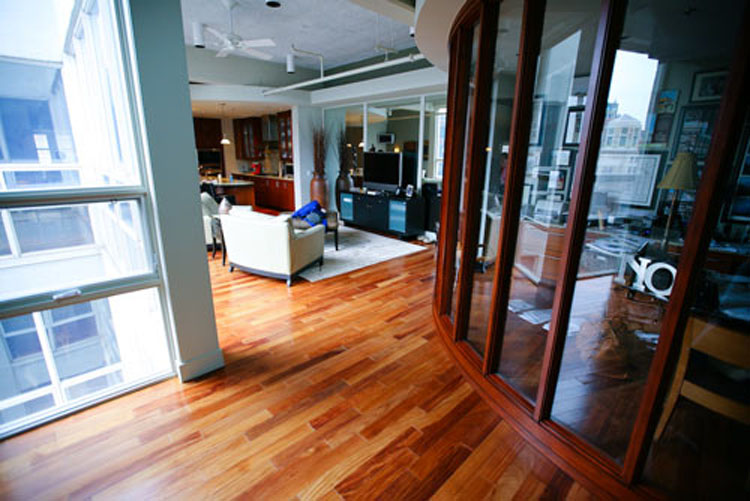 Penthouse Town Home Downtown Ind...
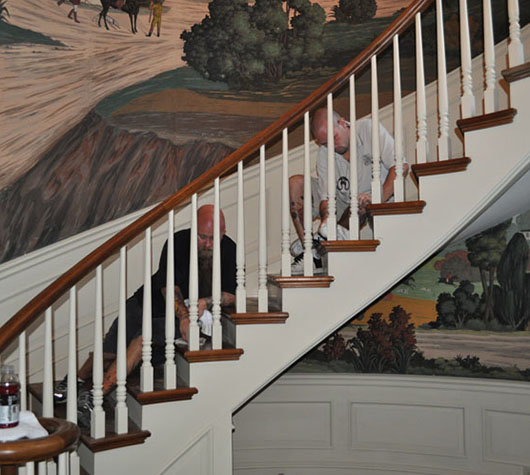 Antique Flooring Restoration
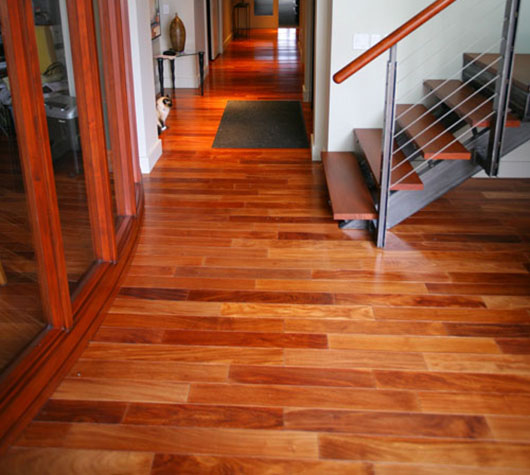 Brazilian Cherry Hardwood Floors